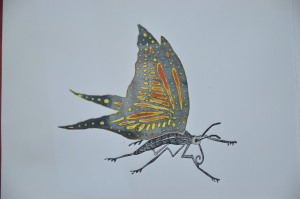
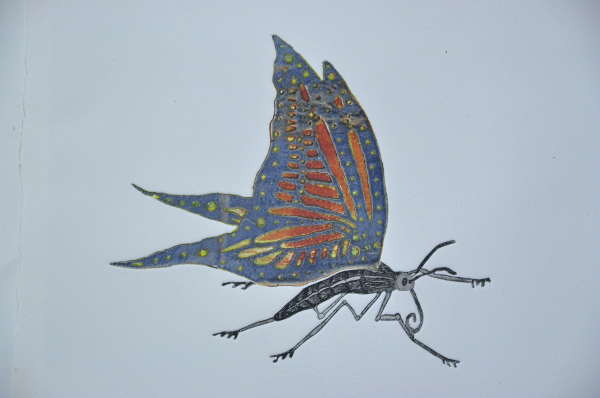
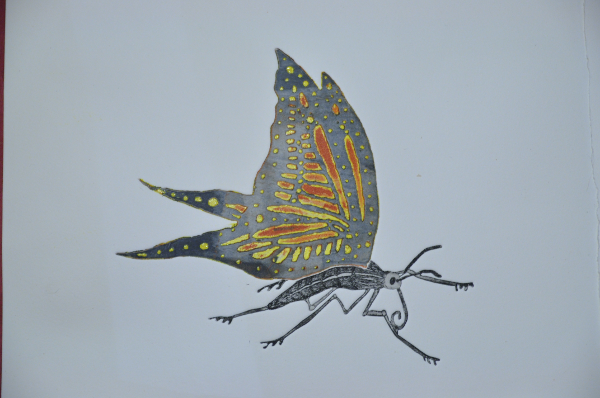
Inking with several colours in engraving , is traditionally done with a colour plate. The Hayter method uses a single plate for all colours, inks and carefully chosen rollers.
But how does that work ?
1) There must be a plate prepared for this technique, with several levels. Typically three levels, which are then each inked with a different colour. For the different levels, you can make punctures by immersing the plate for a very long time against the mordant.
2) You should then have rolls of different hardness, for example a shore 30 and 60 shore. They must also have a sufficient diameter: in my case, it is particularly necessary that the soft roller (Shore 30) has a greater perimeter than the length of my plate.
3) Finally you will need inks of different viscosities. Is possible to use lithographic inks, intaglio and / or dilute the inks with oil. The basic principle of printing viscosity is that a viscous ink does not settle on a less viscous ink (diluted by oil)
Here is the procedure for my butterfly wings:
1) 1) Ink the yellow poppet on the dots (the deepest level). Wipe the plate so that the ink disappears from the other two levels.
2) Use a hard roller to just ink the surface (black). We use a diluted by oil (low viscosity) to prepare for the final step.
3) Use a good-sized soft roller to anchor the intermediate level. Use an undiluted intaglio ink (viscous). Therefore, it is not deposited on the surface (low viscosity) but only on the intermediate level. Pressure on the roll needs to be managed in order to ink the intermediate level but not the deepest level .


